 Pin It
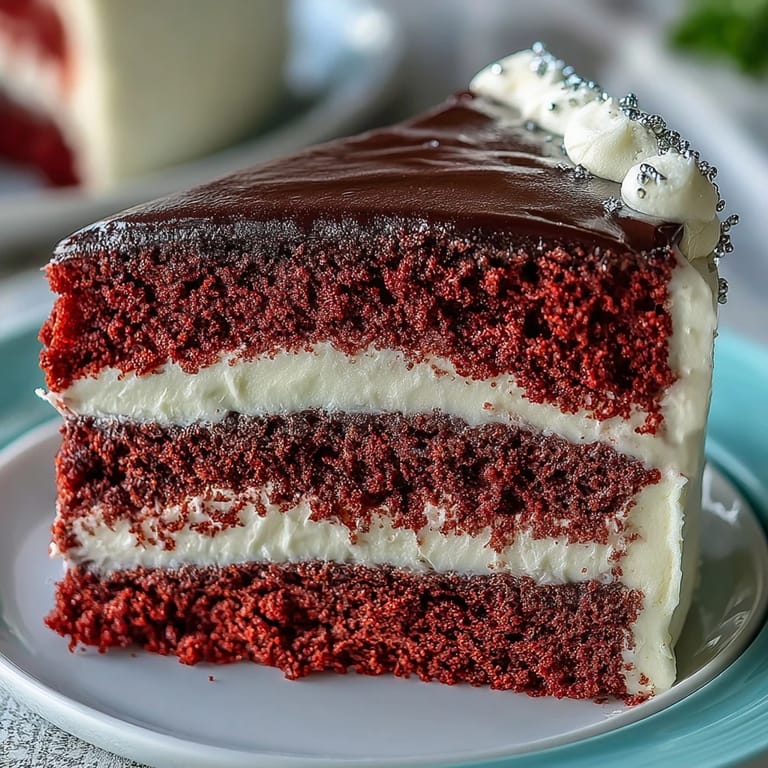
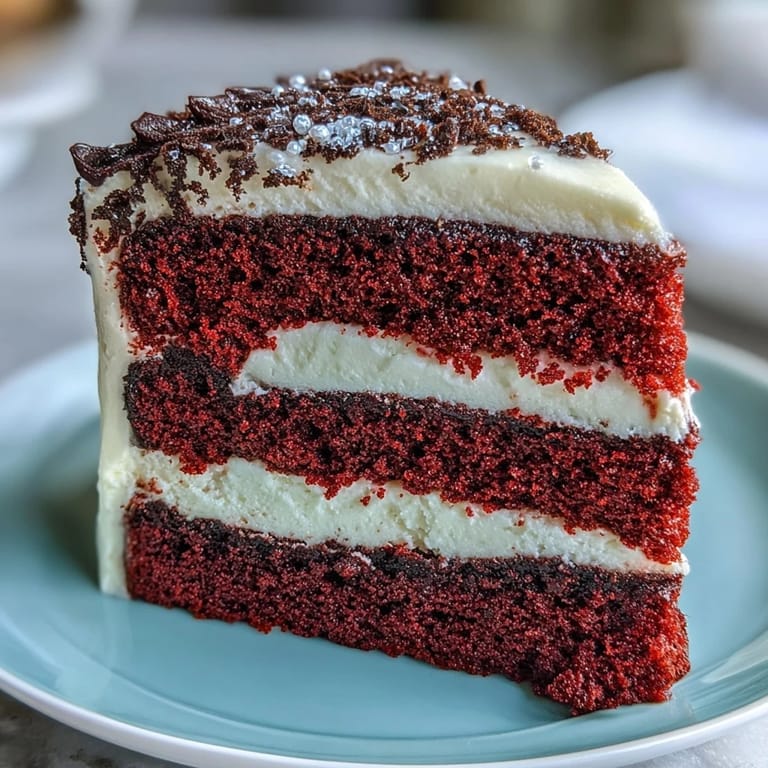
 The moment my niece told me she wanted a Betty Boop birthday cake, I knew I was in for a weekend of baking that would test every skill I had picked up over years of experimental decorating. I spent hours scrolling through vintage cartoon stills, trying to figure out how to translate that iconic black hair and bright eyes into something edible that would actually look like the character instead of a preschool art project. The red velvet base felt perfect, playful and nostalgic, a cake that would taste as memorable as it looked.
I made this cake three times before my nieces party, the first attempt ending with a fondant hair piece that slid tragically down the face while I was trying to position the white eyes. My kitchen looked like a crime scene with red food coloring splatters and black fondant crumbs everywhere, but something clicked during that second attempt when I realized the hair silhouette needed to be cut thicker than I thought. The final cake sat on the dessert table like a piece of edible pop art, and I cannot describe the feeling of watching a room full of people pull out their phones before anyone even picked up a fork.
Ingredients
- all-purpose flour: The backbone of that tender red velvet crumb that holds up under layers of buttercream and fondant without getting squished
- granulated sugar: Sweetens and tenderizes, creating that luxurious texture that makes red velvet so addictive
- baking powder: Gives the lift those red layers need while keeping the crumb fine and velvety rather than fluffy and airy
- unsalted butter: Room temperature butter is non-negotiable here, it creates the emulsion that makes the cake tender and the buttercream silky
- large eggs: Bring structure and richness, and bringing them to room temperature prevents the batter from curdling when you mix everything together
- whole milk: Adds moisture and fat that keep the layers from drying out, even after sitting under fondant for a day
- vanilla extract: Pure vanilla deepens the flavor and balances the tang from the cream cheese in the frosting
- red gel food coloring: Gel coloring is concentrated, so you get that deep crimson red without watering down your batter
- cream cheese: The tang in cream cheese cuts through the sweetness and creates that signature velvety frosting texture
- powdered sugar: Sifting is mandatory, nothing ruins a smooth buttercream faster than tiny lumps of powdered sugar
- black fondant: Knead this thoroughly before rolling, cold fondant cracks and warm fondant sticks, so find that sweet spot
- white fondant: Keep this covered with a damp paper towel while you work, fondant dries out faster than you think
- red fondant: You will need less of this than you expect, a little goes a long way for those signature lips
- edible pearl dust or luster dust: Completely optional but adds that subtle sheen that makes the fondant look less like, well, fondant
- cornstarch: Dust your work surface instead of powdered sugar, cornstarch keeps fondant from getting sticky or gummy
Tired of Takeout? 🥡
Get 10 meals you can make faster than delivery arrives. Seriously.
One email. No spam. Unsubscribe anytime.
Instructions
- Preheat your oven and prep the pans:
- Heat your oven to 350°F and grease two 8-inch round pans, then line the bottoms with parchment paper so you never have to worry about cakes sticking.
- Whisk the dry ingredients:
- In a medium bowl, combine flour, baking powder, and salt, then set it aside while you work on the wet ingredients.
- Cream the butter and sugar:
- Beat butter and sugar on medium speed for about 3 minutes until the mixture looks pale and fluffy, this creates air pockets that make the cake tender.
- Add the eggs and vanilla:
- Add eggs one at a time, beating thoroughly after each, then stir in the vanilla until everything is completely incorporated.
- Mix in the dry and wet ingredients:
- Alternate adding the flour mixture and milk in three additions, starting and ending with the flour, and scrape down the bowl to make sure everything is evenly combined.
- Add the red coloring:
- Mix in the red gel food coloring until the batter is that deep, dramatic red, remember you can always add more but you cannot take it back.
- Bake the layers:
- Divide the batter between your prepared pans, smooth the tops, and bake for 25 to 30 minutes until a toothpick comes out clean, rotating the pans halfway through.
- Cool the cakes:
- Let the cakes rest in the pans for 10 minutes, then turn them out onto wire racks to cool completely before you even think about frosting.
- Make the buttercream:
- Beat cream cheese and butter together for about 2 minutes until smooth, then gradually add powdered sugar one cup at a time until everything is incorporated.
- Finish the buttercream:
- Increase mixer speed to medium and beat for another 3 minutes until the buttercream is light, fluffy, and spreadable.
- Assemble the cake:
- Trim any domes off the cakes so they sit flat, place one layer on your cake board, spread buttercream on top, and carefully add the second layer.
- Add the crumb coat:
- Apply a thin layer of buttercream around the entire cake to lock in the crumbs, then chill for 20 minutes until the frosting is firm.
- Apply the final coat:
- Add a thicker layer of buttercream and smooth the sides and top with a cake scraper or offset spatula, then chill again until the frosting feels set.
- Roll out the black fondant:
- Dust your surface with cornstarch and roll the black fondant to about 1/8 inch thick, then cut out Betty Boops signature hair silhouette using a template or freehand.
- Create the face details:
- Roll white fondant and cut two large circles for the eyes with small heart highlights, then roll red fondant and cut out those iconic lips.
- Attach the decorations:
- Gently position the black fondant hair over the front of the cake, trimming any excess at the base, then attach the eyes and lips with tiny dabs of buttercream.
- Add the finishing touches:
- Use leftover black fondant to create eyelashes and eyebrows around the eyes, then add a red fondant headband across the top edge of the hair if you want that extra detail.
- Rest before serving:
- Let the finished cake sit at room temperature for 30 minutes so the fondant softens slightly, then slice and serve your masterpiece.
 Pin It
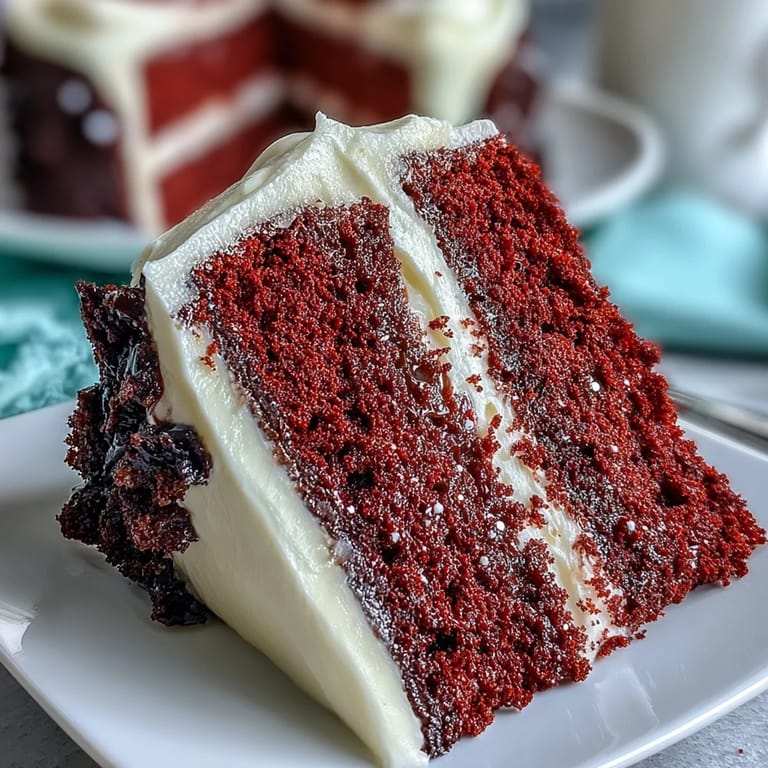
 When I finally served this cake at my nieces party, the birthday girl actually squealed and immediately asked how I managed to make Betty Boop look so recognizable. Her mom kept saying she could not believe I made it myself, which is basically the highest compliment you can get as a home baker. The best part was watching everyone realize it was red velvet when they took their first bites, that little surprise of flavor matching the fun of the design.
Working With Fondant Like a Pro
Fondant has a reputation for being finicky, but honestly, most problems come from working with it when it is either too cold or too warm. I learned to let my fondant sit at room temperature for about 20 minutes before I start rolling, and I keep a small bowl of cornstarch nearby to dust my hands and work surface whenever things start feeling sticky. If you tear a piece while you are working, just knead it back together and roll it again, fondant is surprisingly forgiving if you are patient with it.
Getting That Cartoon Character Look
The secret to making Betty Boop actually look like Betty Boop is studying the proportions before you start cutting anything. I print out a reference image and hold it up to my cake to gauge the size of the hair silhouette relative to the face, and I use a cookie cutter or a round cutter as a template for the eyes so they are perfectly symmetrical. The first time I freehanded everything, the eyes ended up slightly different sizes and Betty looked like she had had a long night, so templates became my best friend for character cakes.
Making Red Velvet That Actually Tastes Good
So many red velvet cakes taste like nothing but red food coloring and disappointment, but the cream cheese buttercream is what makes this version worth the effort. I always use full-fat cream cheese and real butter, no shortcuts, and I let the buttercream come to room temperature before I frost so it spreads like a dream instead of tearing the cake layers. The tang from the cream cheese against the sweet, tender crumb is what makes red velvet a classic instead of just a colored cake.
- If your red velvet turns out more rust than crimson, your food coloring might be old or you might need to add a bit more gel coloring
- Overbaking red velvet makes it dry, so start checking for doneness at 25 minutes and pull the cake the moment a toothpick comes out clean
- The cream cheese buttercream will soften faster at room temperature than regular buttercream, so keep this cake chilled until about 30 minutes before you serve it
 Pin It
 This cake is absolutely worth the effort, especially when you see the reaction when you bring it out. Hope it becomes a showstopper at your next celebration.
Questions & Answers
- → How difficult is the fondant work for beginners?
The fondant decorations require some practice but are manageable for determined beginners. Start with simple shapes like the eyes and lips before attempting the hair silhouette. Using a template helps achieve accurate results.
- → Can I make the red velvet layers ahead of time?
Yes, baked layers can be wrapped tightly in plastic and frozen for up to one month. Thaw overnight in the refrigerator before frosting and decorating. Bring to room temperature for best results.
- → What if I can't find red gel food coloring?
Liquid red food coloring works but requires significantly more product to achieve deep color. Gel provides concentrated pigment without adding excess moisture to the batter, ensuring proper texture.
- → How should I store the finished dessert?
Keep refrigerated due to the cream cheese frosting. Cover loosely with a cake dome or plastic wrap to prevent drying. Serve within 3-4 days for optimal freshness and texture.
- → Can I use Swiss meringue buttercream instead?
Absolutely. Swiss meringue creates a lighter, silkier finish that some prefer. It's also more stable in warm temperatures, though it provides less tanginess than traditional cream cheese frosting.
- → Do I need special tools for fondant work?
Basic equipment includes a rolling pin, sharp knife, and cornstarch for dusting. Fondant smoothers and modeling tools help achieve professional results but aren't strictly necessary for this project.