 Pin It
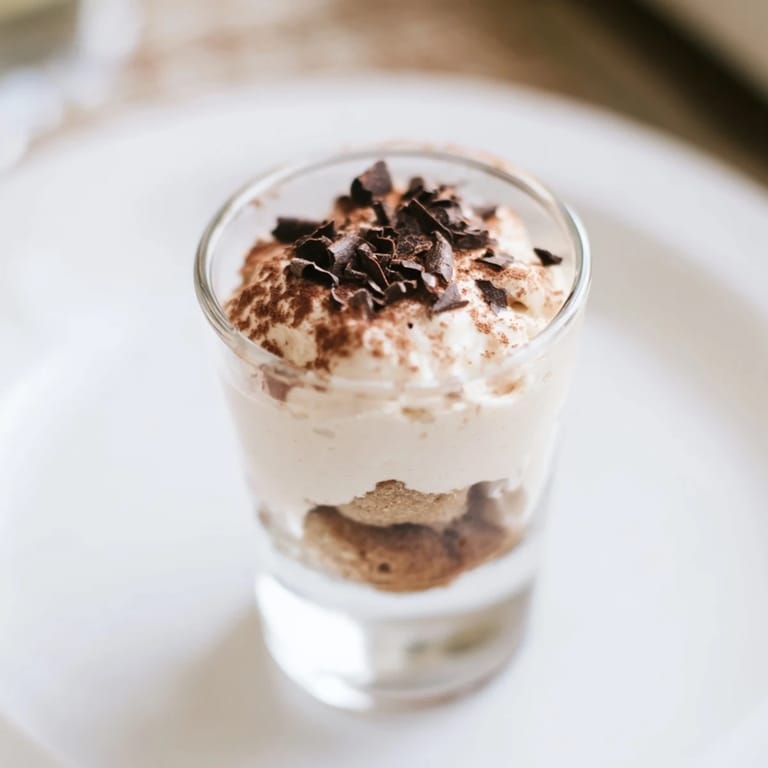
 There's something delightfully mischievous about serving tiramisu in a shot glass. I discovered this version at a dinner party where a friend's pastry chef sister showed up with these elegant little vessels, and suddenly everyone was crowding around the dessert table like we'd never seen tiramisu before. The first sip of espresso-soaked ladyfinger meeting cloud-soft mascarpone made me realize that sometimes the most impressive dishes come from the simplest idea: breaking the rules just enough to make people smile.
I made these for the first time during a chaotic Tuesday when my partner's parents called to say they were stopping by. Instead of panicking, I remembered seeing these shots somewhere and realized I had everything in my fridge. Twenty minutes later, we were all leaning against the kitchen counter with these little glasses, and somehow the informal presentation made the whole evening feel less stressful and more fun. That's when I understood: sometimes the quickest desserts make the biggest impression.
Ingredients
- Ladyfinger biscuits (savoiardi), 8 broken into bite-sized pieces: These delicate Italian cookies are the backbone of tiramisu, and breaking them into pieces keeps everything manageable for shot glasses—plus you get more surface area to absorb that gorgeous espresso.
- Freshly brewed espresso, 1/2 cup (120 ml), cooled: Strong, dark, and freshly brewed matters here because the flavor needs to shine through the cream; stale espresso tastes sad and thin by comparison.
- Coffee liqueur, 2 tbsp (Kahlúa or Tia Maria): This adds depth and a grown-up edge, but honestly, you can skip it entirely if you want something alcohol-free—just use a touch more espresso instead.
- Mascarpone cheese, 1 cup (250 g), room temperature: Cold mascarpone gets lumpy and refuses to cooperate, so pull it from the fridge at least thirty minutes before you start; room temperature is your secret to silky cream.
- Heavy cream, 1/2 cup (120 ml), cold: Keep this cold, and whip it separately—folding whipped cream into the mascarpone instead of mixing it roughly makes all the difference in texture.
- Powdered sugar, 1/4 cup (30 g): This sweetens the mascarpone gently without grittiness, and sifting it first prevents lumps that turn up later.
- Pure vanilla extract, 1 tsp: A small touch that rounds out the flavor without announcing itself.
- Unsweetened cocoa powder, 2 tbsp for dusting: Quality cocoa makes a real difference—the bitterness against the sweetness is what makes these shots feel sophisticated.
- Dark chocolate shavings, optional for garnish: A vegetable peeler works beautifully if you don't have a grater, and these add a finishing touch that makes everyone think you spent hours on this.
Tired of Takeout? 🥡
Get 10 meals you can make faster than delivery arrives. Seriously.
One email. No spam. Unsubscribe anytime.
Instructions
- Prepare the espresso mixture:
- Pour your cooled espresso into a shallow bowl and stir in the coffee liqueur if using it. This is where your coffee flavor lives, so taste it—if it feels too weak, you can add a bit more espresso powder stirred into the liquid.
- Dip the biscuits gently:
- Work quickly here; dip each ladyfinger piece for just a second or two, turning it once so both sides kiss the espresso. If you soak them too long they become a soggy mess, but a quick dip gives you that perfect tender-but-still-structured bite.
- Make the mascarpone base:
- In a medium bowl, whisk together the room-temperature mascarpone, sifted powdered sugar, and vanilla until you have something smooth and lump-free. Use a whisk or wooden spoon rather than an electric mixer at this stage, which can make mascarpone grainy.
- Whip and fold the cream:
- In a separate bowl, whip your cold heavy cream until soft peaks form—this takes about two minutes with an electric mixer. Gently fold this into the mascarpone in two additions, being careful not to overmix; stop as soon as everything is combined.
- Layer the first level:
- Drop a small handful of espresso-soaked ladyfinger pieces into the bottom of each shot glass. You want just enough to create a coffee-flavored foundation without making it too heavy.
- Add the cream layer:
- Spoon or pipe (a piping bag makes this feel more elegant if you're feeling fancy) the mascarpone cream over the biscuits, dividing it evenly among all eight glasses. This should be generous but not overflowing.
- Build the second layer:
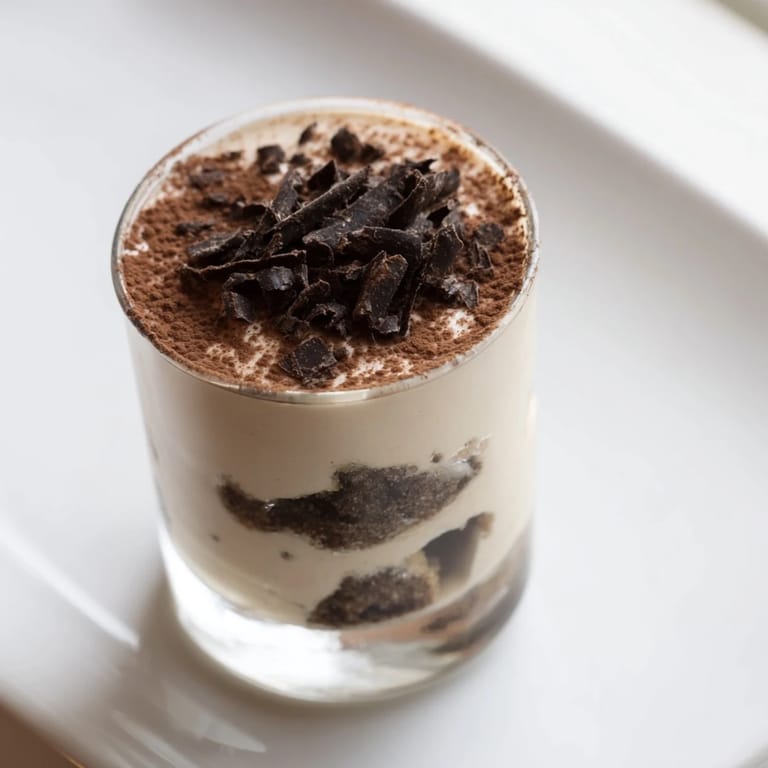
- Top each with another small layer of espresso-soaked biscuits, then finish with a second spoonful of mascarpone cream. You now have the classic tiramisu structure in miniature.
- Dust and chill:
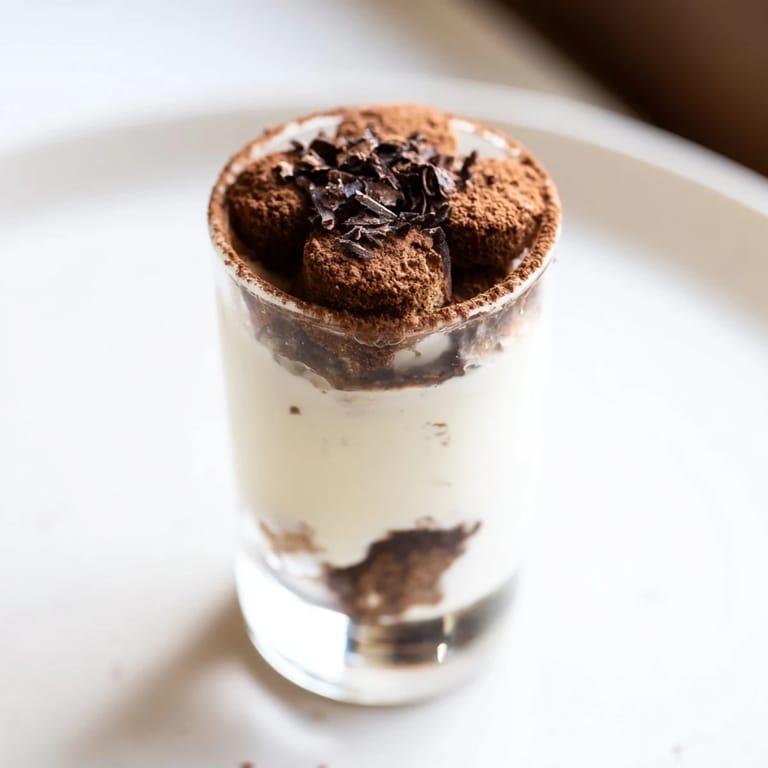
- Use a fine sieve to dust cocoa powder over the tops, then scatter chocolate shavings if you have them. Refrigerate for at least an hour, which lets the flavors meld and keeps everything beautifully cold when served.
 Pin It
 There was a moment last summer when my teenage niece took her first taste of one of these and looked genuinely surprised that something this elegant could come from my kitchen. That's when I realized these shots aren't really about impressing people with complicated techniques—they're about the small magic of taking something everyone loves and presenting it in a way that makes ordinary moments feel a little bit special.
Why These Work for Parties
Shot glasses are one of the most underrated serving vessels in the kitchen. Because they're individual, people aren't standing around with forks trying to cut neat portions from a larger dessert, and there's something inherently fun about picking up a tiny glass of tiramisu. You can also make them hours in advance and just pull them from the fridge when guests arrive, which means you're actually present and relaxed instead of panicking about plating.
Playing With Flavors
The beauty of this format is that you can bend the tiramisu rules without it feeling wrong. I've made versions with a splash of amaretto instead of coffee liqueur, substituted the cocoa powder with crushed pistachios on top, and even tried a white chocolate version using white chocolate chips instead of cocoa. The structure stays the same, but the variations keep things interesting if you're making these more than once.
Make-Ahead Magic
These shots actually taste better the next day because everything has time to settle and the flavors deepen. You can make them up to two days in advance, which takes all the pressure off if you're planning ahead. Just store them in the coldest part of your fridge, covered loosely with plastic wrap so they don't pick up weird flavors.
- Make them the day before if you want less stress on serving day—they only get better.
- If you're short on shot glasses, small mason jars or even coffee cups work in a pinch and look intentionally rustic.
- Unmask the cocoa powder right before serving so it doesn't absorb moisture and turn muddy-looking.
 Pin It
 These tiramisu shots have quietly become my go-to dessert for moments when I want to feel capable without spending the whole day cooking. They remind me that some of the most memorable things in the kitchen are the ones we almost didn't bother making.
Questions & Answers
- → Can I omit the liqueur in this dessert?
Yes, you can skip the liqueur and replace it with extra espresso for a non-alcoholic version without sacrificing flavor.
- → What can I use instead of ladyfinger biscuits?
Substitute ladyfingers with sponge cake or gluten-free biscuits to accommodate dietary preferences or allergies.
- → How long should I chill the layers before serving?
Chill the assembled layers in the refrigerator for at least one hour to allow the flavors to meld and the texture to set.
- → Are there common allergens in this dish?
This dessert contains dairy, eggs, gluten, and potentially alcohol depending on your choice of liqueur. Check ingredients carefully if needed.
- → What is the best way to serve these treats?
Serve the layered shots chilled in small glasses or cups, garnished with cocoa powder and optional dark chocolate shavings for an elegant presentation.