 Pin It
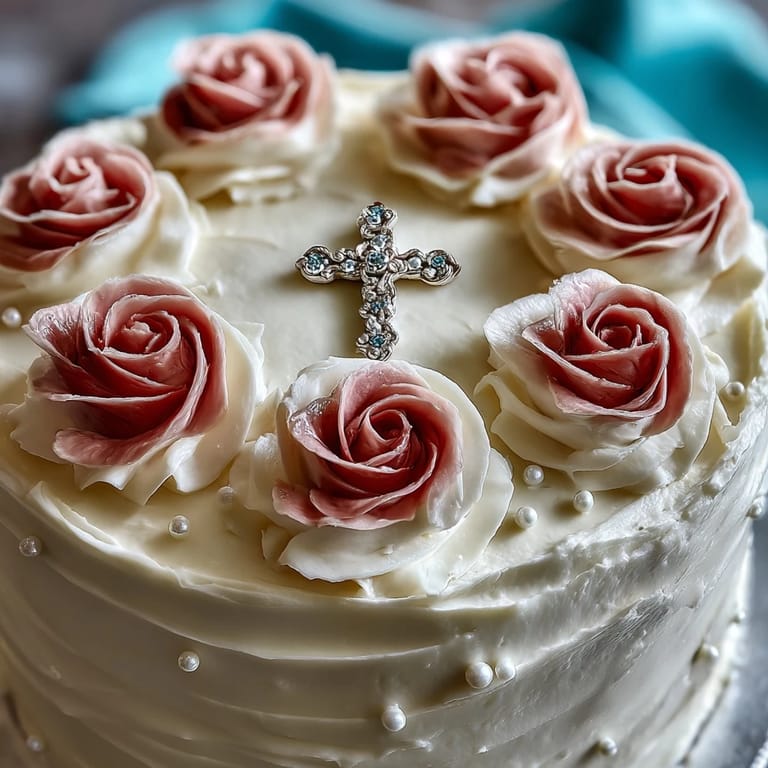
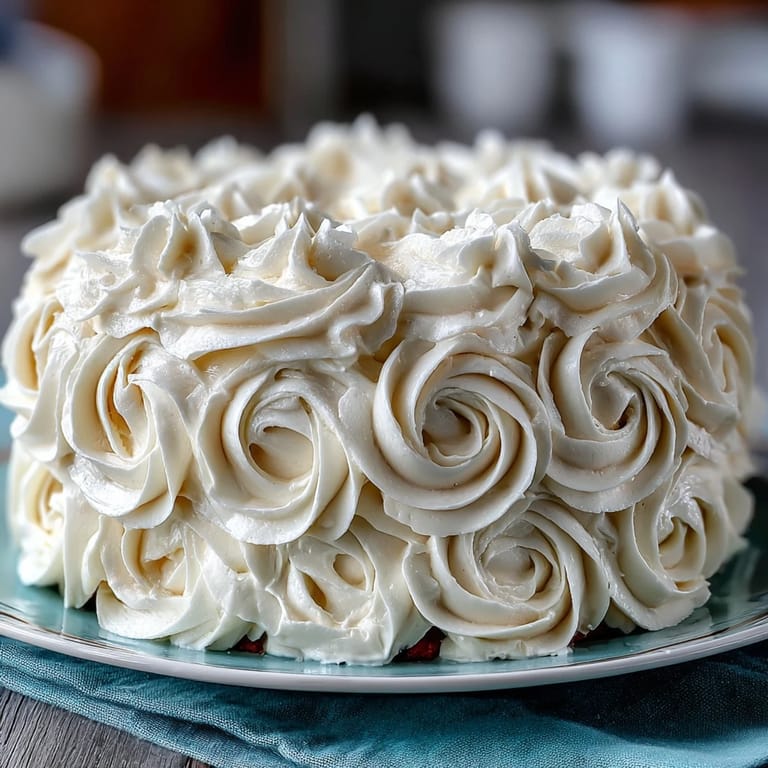
 My sister called me three weeks before her daughter's First Communion, voice barely holding back panic—she needed a cake that looked like something from a dream, not a baking disaster. I found myself standing in my kitchen at midnight, sketching fondant roses on notebook paper, remembering how my own mother had once attempted this exact cake and ended up with what looked like a melted snowman. This time, I was determined to get it right, and as it turned out, the secret wasn't perfection—it was patience and a little bit of grace.
When my niece bit into that first slice and her whole face lit up, I understood why people spend hours on cakes like this. It wasn't really about the fondant or the cross topper—it was about marking a moment that mattered, creating something a child would remember. My sister stood beside me in the kitchen as we arranged those final roses, her hands shaking a little, and I whispered that we'd made something beautiful together.
Ingredients
- All-purpose flour: The foundation of a tender crumb—I learned to spoon and level rather than scoop directly, which prevents a dense cake from too much flour.
- Baking powder: This is your lift and lightness; use fresh powder and don't skip the sifting step.
- Unsalted butter: Room temperature is non-negotiable—cold butter won't cream properly, and you'll lose that fluffy texture that makes this cake special.
- Granulated sugar: Creaming it thoroughly with butter introduces air bubbles that keep the cake tender and moist.
- Room temperature eggs: They blend seamlessly into the batter and create a smoother, more cohesive crumb than cold eggs.
- Pure vanilla extract: The real stuff makes a noticeable difference in flavor; imitation has a slightly metallic aftertaste that some people catch.
- Whole milk: The acidity helps activate the baking powder and keeps the cake from becoming gummy.
- Powdered sugar for frosting: Sifting removes lumps and ensures your buttercream spreads like silk, not like trying to smooth peanut butter.
- White fondant: Buy quality fondant if you can—cheaper brands tear and crack when you're trying to shape those delicate roses.
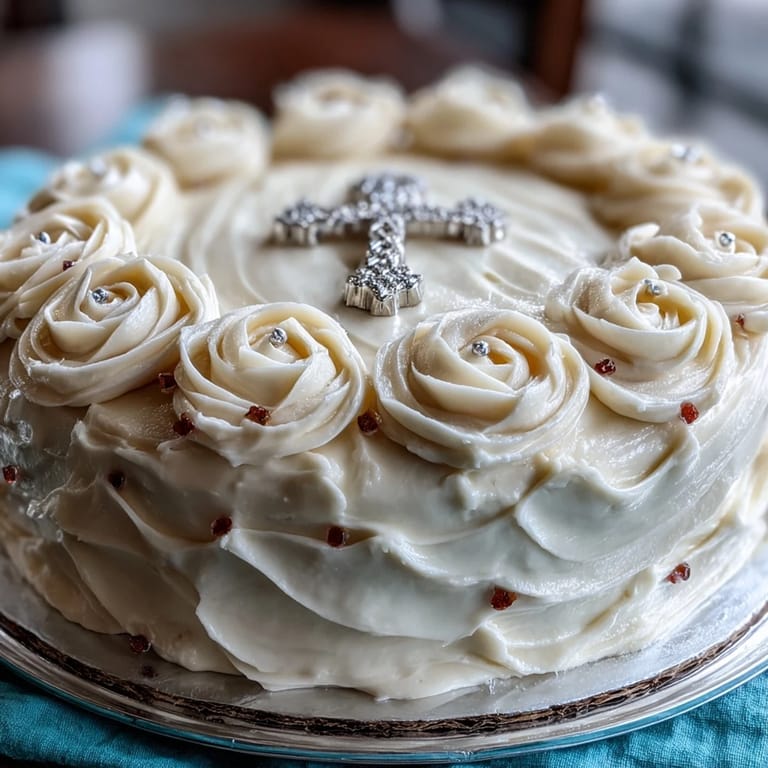
- Cross topper: This small detail transforms the cake from beautiful to meaningful; I prefer edible ones, but decorative toppers work just as well.
Tired of Takeout? 🥡
Get 10 meals you can make faster than delivery arrives. Seriously.
One email. No spam. Unsubscribe anytime.
Instructions
- Prepare your pans and preheat:
- Set your oven to 350°F and take a moment to grease and line those pans properly—parchment paper on the bottom, a light grease on the sides. Cold pans can cause uneven baking, so let them sit while the oven warms.
- Combine your dry ingredients:
- Whisk flour, baking powder, and salt together in a medium bowl, breaking up any lumps of baking powder with the back of a spoon. This distributes the leavening evenly throughout the batter.
- Cream butter and sugar:
- Beat softened butter and sugar for about three minutes until the mixture is pale, fluffy, and looks almost like wet sand. You'll see this transformation happen, and that's when you know air has been incorporated into the batter.
- Add eggs one at a time:
- Crack each egg into a small bowl first, then add to the butter mixture, beating well after each addition. This prevents scrambled egg streaks and ensures smooth incorporation.
- Mix in vanilla and alternate wet and dry:
- Add vanilla extract, then with your mixer on low speed, alternate adding the flour mixture and milk—flour, milk, flour, milk, flour. This prevents overmixing, which is the enemy of tender cake.
- Fill pans and bake:
- Divide batter evenly between your prepared pans and smooth the tops gently with a spatula. Bake for 30 to 35 minutes until a toothpick inserted in the center comes out clean—you'll smell that vanilla butter aroma filling your kitchen.
- Cool with patience:
- Leave cakes in pans for 10 minutes (they're still setting), then turn them out onto wire racks to cool completely. Frosting a warm cake is a disaster waiting to happen.
- Make silky buttercream:
- Beat softened butter until creamy and pale, then gradually add sifted powdered sugar a cup at a time, beating between additions. Add vanilla, salt, and milk one tablespoon at a time until you reach a spreadable consistency—somewhere between thick and fluffy.
- Level and layer:
- If your cakes have domed tops, carefully slice them level with a serrated knife or cake leveler. Place one layer on your cake board, spread buttercream on top, and add the second layer.
- Crumb coat and chill:
- Spread a thin, even layer of buttercream over the entire cake to seal in crumbs, then refrigerate for 20 minutes. This step prevents crumb flecks from appearing in your final layer.
- Apply final frosting:
- Spread a smooth, thick final layer of buttercream over the entire cake, using an offset spatula dipped in warm water for a polished finish. Take your time here—smooth frosting is your canvas for decoration.
- Shape fondant roses:
- Roll small balls of white fondant, then flatten each into a petal shape with your thumb. Roll the first petal into a tight spiral for the center, then overlap additional petals around it to form a rose—it's like origami you can eat.
- Arrange roses and decorations:
- Tint a small amount of fondant green if desired, roll out thin leaves, and arrange everything on the frosted cake. Add edible pearls or dragees for subtle sparkle if you like.
- Top with the cross:
- Place your cross topper at the center or wherever feels right, and chill the finished cake until serving time. A cold cake is easier to transport and holds its shape beautifully.
 Pin It
 The moment my niece's friends gathered around that cake at her party, their eyes wide at the delicate roses and shimmering pearls, I felt something settle in my chest. This wasn't just a dessert—it was proof that showing up for the people we love, even when the task feels daunting, creates something worth remembering forever.
The Fondant Rose Technique That Actually Works
The first time I shaped fondant roses, I made them too thick and they looked like wrinkled cabbage. Then a baker friend showed me the trick: roll smaller petals than you think you need, keep them paper-thin, and work quickly while the fondant is still slightly warm and pliable from your hands. The warmth makes it stretchy instead of crumbly, and thin petals curl naturally instead of bunching up. Each rose takes maybe two minutes once you find your rhythm, and honestly, the slightly imperfect ones look more beautiful on the cake than the ones I obsessed over.
Why This Cake Works for Special Moments
There's something about a homemade celebration cake that store-bought versions can never quite match—it carries the effort and intention right there in every layer. This particular cake struck the perfect balance between looking absolutely stunning and actually tasting like real cake, not just pretty decoration. I've brought this cake to christenings, confirmations, and other milestone celebrations, and every single time, people ask for the recipe because they can taste the difference that love and time make.
Storage and Make-Ahead Magic
One of my favorite discoveries is that this cake actually improves after a day—the crumb sets and becomes even more tender, and the flavors meld together. You can bake the layers up to three days ahead, store them wrapped at room temperature, and frost the day before serving. The buttercream holds up beautifully in the refrigerator, and the fondant decorations don't soften or slide, which means you can decorate in the morning and let it chill until showtime without any last-minute stress.
- Wrap unfrosted cake layers tightly in plastic wrap to keep them fresh and moist for up to three days.
- Make buttercream up to five days ahead and refrigerate; let it soften at room temperature before using, then re-beat it briefly for smoothness.
- Fondant roses can be shaped days in advance and stored in an airtight container at room temperature, ready to arrange whenever you need them.
 Pin It
 Baking this cake for someone you love is its own kind of ceremony, a quiet promise made with butter and eggs and vanilla. If you're nervous about making it, remember that perfection isn't the point—the love in the layers is what people actually taste.
Questions & Answers
- → What type of flour is best for the vanilla sponge?
All-purpose flour is recommended for a tender yet sturdy sponge that holds its shape well during baking.
- → How can I achieve smooth buttercream frosting?
Beat softened butter until creamy before gradually adding powdered sugar, vanilla, and milk. This ensures a smooth, spreadable consistency.
- → What is the purpose of fondant roses on the cake?
Fondant roses provide an elegant, delicate decorative element that enhances the cake’s visual appeal with refined detail.
- → Can I substitute any ingredients for dietary needs?
Yes, half the butter can be replaced with vegetable oil for a lighter texture, and a gluten-free flour blend may be used to accommodate gluten sensitivities.
- → How should the cake be stored after assembling?
Chill the cake after applying the crumb coat and final layer of frosting to maintain structure; store refrigerated until serving.
- → What additional flavors can enhance the vanilla sponge?
Lemon zest or almond extract can be added for subtle flavor variations that complement the classic vanilla base.