 Pin It
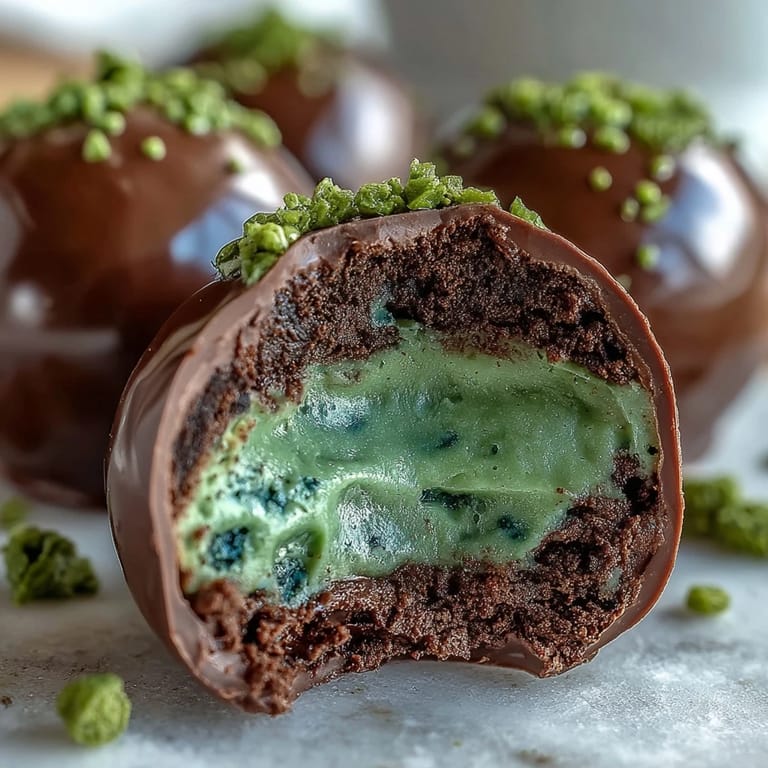
 There's something magical about turning a box of Oreos and cream cheese into something that looks like it came from a fancy chocolatier—especially when you coat them in that vibrant green that screams St. Patrick's Day. I stumbled onto this recipe while frantically searching for something festive to bring to a last-minute party, and honestly, the fact that they're no-bake felt like a gift. My kitchen smelled like chocolate and cream cheese, and I couldn't stop popping the test truffles into my mouth before they even made it to the freezer.
I brought a batch to work once, and watching my coworkers bite into one expecting some kind of minty chocolate and instead getting pure Oreo bliss was worth the entire process. They disappeared faster than I could explain what was in them, and someone asked if I'd bought them from a bakery. That moment—when something homemade gets mistaken for professional—never gets old.
Ingredients
- 36 Oreo cookies (regular, not Double Stuf): Regular Oreos are the sweet spot here because they blend into the cream cheese without making the mixture too thick or cookie-heavy; Double Stuf would throw off your ratio and make these dense.
- 8 oz (225 g) cream cheese, softened: Room temperature is non-negotiable—if it's cold, your mixture becomes grainy and impossible to roll into smooth balls.
- 12 oz (340 g) white chocolate or white candy melts: Candy melts are honestly easier to work with since they set faster and take color better, but real white chocolate works if you're careful about overheating.
- Green gel or oil-based food coloring: Gel or oil-based coloring prevents the chocolate from seizing up like it would with liquid food coloring—this is the mistake that taught me to read instructions carefully.
- Green sprinkles, edible glitter, or gold sugar (optional): These finish the look and make them feel festive, though honestly they taste perfect without any garnish.
Tired of Takeout? 🥡
Get 10 meals you can make faster than delivery arrives. Seriously.
One email. No spam. Unsubscribe anytime.
Instructions
- Prep Your Workspace:
- Line a baking sheet with parchment paper so you have somewhere clean and ready for all those little balls. This small step saves you from the chaos of scrambling for supplies mid-process.
- Turn Cookies Into Crumbs:
- Pulse your Oreos in a food processor until they're fine crumbs—this takes maybe a minute and transforms them completely. You're not making cookie dust; you want texture that holds together but feels like sand.
- Blend in the Cream Cheese:
- Add your softened cream cheese and blend until the mixture looks smooth and cohesive, like thick frosting. Stop when it just comes together; over-mixing makes it greasy.
- Roll Into Balls:
- Scoop heaping tablespoons and roll them between your palms into 1-inch balls, then place them on your parchment-lined sheet. Your hands might get a little messy, but that's part of the charm.
- Freeze Until Firm:
- Pop these into the freezer for at least 45 minutes—this step is crucial because it keeps your truffles from falling apart when you dip them in chocolate. You can actually leave them overnight if that's easier for your schedule.
- Melt Your Chocolate:
- Use 30-second intervals in the microwave, stirring between each one, because chocolate burns faster than you'd think. When it's smooth and glossy, you're done.
- Add the Green Glow:
- Stir your gel or oil-based food coloring into the melted chocolate until you get that festive green shade you love. Start with a little coloring—you can always add more, but you can't take it out.
- Dip with Care:
- Using a fork or candy dipping tool, dip each frozen truffle into the green chocolate and let the excess drip off before placing it back on parchment. This is weirdly meditative; I find myself in a rhythm after the first few.
- Decorate Immediately:
- If you're adding sprinkles or edible glitter, do it right after dipping while the chocolate is still wet so everything sticks. After a few minutes it sets and you'll miss your window.
- Let Them Set:
- Leave them at room temperature or pop them in the fridge for 15–20 minutes until the coating is firm. You're almost there.
- Store and Serve:
- Keep them in an airtight container in the fridge until you're ready to celebrate. They'll stay fresh for about a week, though they never last that long in my house.
 Pin It
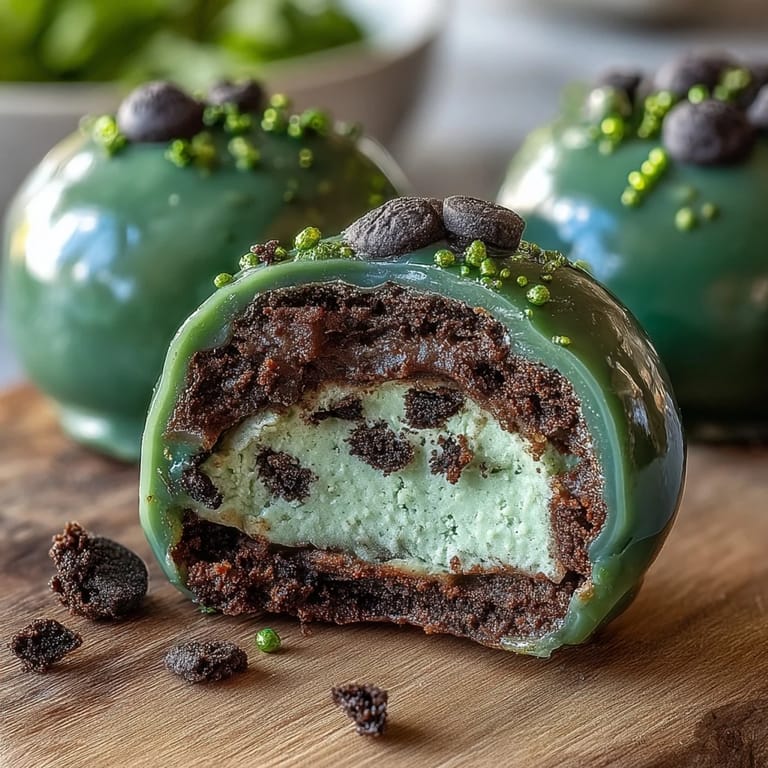
 There was this one St. Patrick's Day when my roommate brought these to her family dinner, and her grandmother asked for the recipe thinking they were from a specialty candy shop. That moment meant everything—not because of the compliment, but because something I'd made in our tiny shared kitchen connected with her whole family.
Flavor Variations That Work
While these are perfect as-is, I've experimented with a few tweaks that felt natural. Swapping in mint-flavored Oreos changes the whole vibe and makes them feel more sophisticated, though regular Oreos are honestly my go-to because they let the chocolate shine. You can also add a quarter-teaspoon of mint extract to the cream cheese mixture if you want that subtle herbal note without committing to mint cookies.
Why No-Bake Is Your Friend
The beauty of these truffles is that they don't require any oven time or special baking skills—you just need a microwave and a freezer. This means you can make them while doing other things, which is especially useful during the chaos of holiday planning. I've assembled these while on a video call, multitasking in a way that would be impossible with actual baking.
Making Them Extra Special
These truffles become even more memorable when you personalize them a little. Gold sugar sprinkles add extra festive glamour, and layering different greens (matte green sprinkles with edible glitter) creates visual interest that catches the light. If you're giving them as gifts, a small box or tin with tissue paper makes them feel like a genuine present rather than just candy.
- Consider making a double batch because they disappear faster than you'd expect—trust me on this one.
- If your white chocolate keeps seizing, switch to candy melts, which are more forgiving and honestly just as delicious.
- Keep them in the fridge, not the counter, because the cream cheese center will get soft if it's too warm.
 Pin It
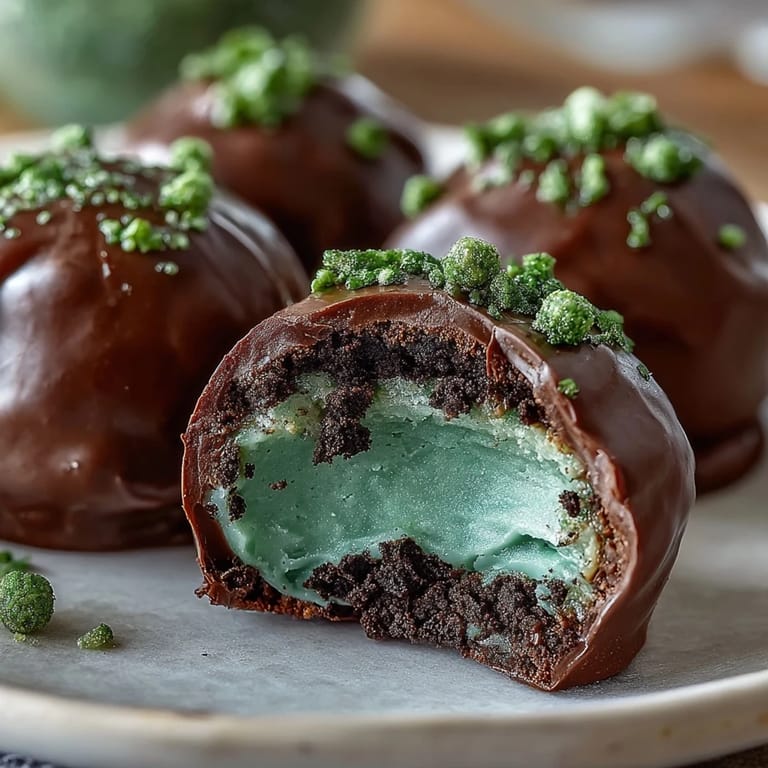
 These green truffles have become my go-to celebration dessert, the kind of thing that feels fancy but never stresses me out. Whether you're bringing them to a party, making them for yourself, or giving them away, they carry that homemade warmth that store-bought candy never quite manages.
Questions & Answers
- → How do I ensure the coating is smooth and even?
Melt the white chocolate or candy melts gently in short bursts, stirring frequently. Dip each ball quickly and allow excess coating to drip off for a smooth finish.
- → Can I use mint-flavored cookies in this treat?
Yes, mint-flavored cookies add a refreshing twist to the creamy center, enhancing the overall flavor.
- → What is the best way to freeze the truffle balls?
Place rolled balls spaced evenly on parchment paper-lined trays and freeze for at least 45 minutes until firm before coating.
- → How can I achieve the vibrant green color in the coating?
Use gel or oil-based green food coloring mixed thoroughly into melted white chocolate or candy melts for best results without seizing.
- → Are these truffles suitable for vegetarians?
Yes, these treats contain no meat products and rely on dairy and cookie ingredients aligned with vegetarian diets.
- → Can I prepare these truffles ahead of time?
Absolutely, they can be stored in an airtight container in the refrigerator for several days to maintain freshness.