 Pin It
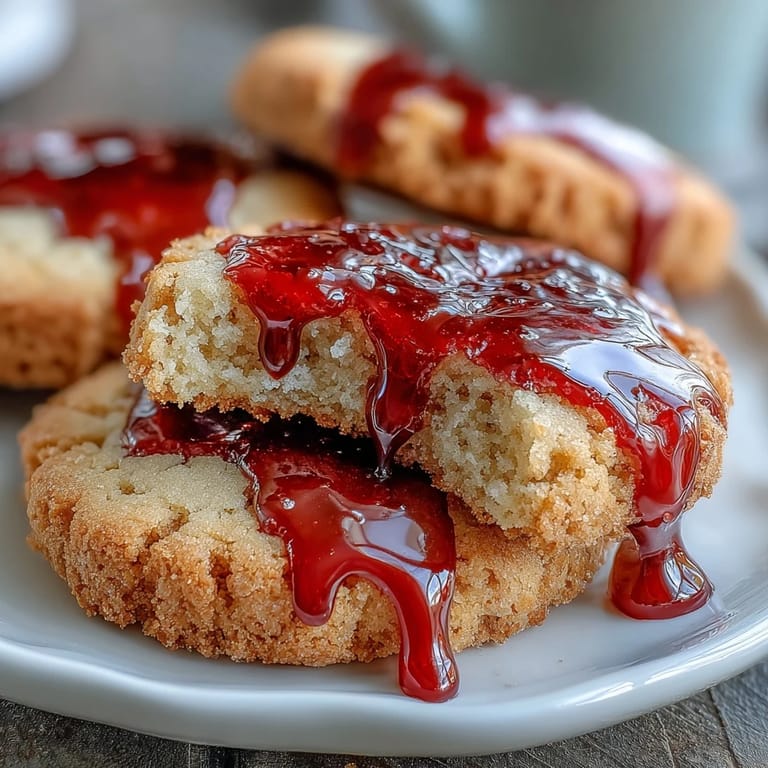
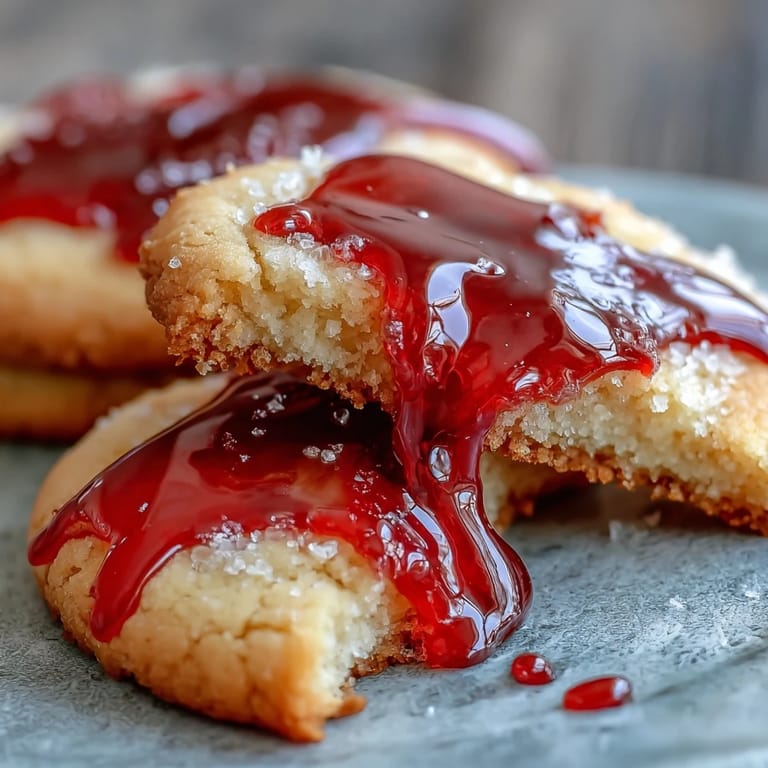
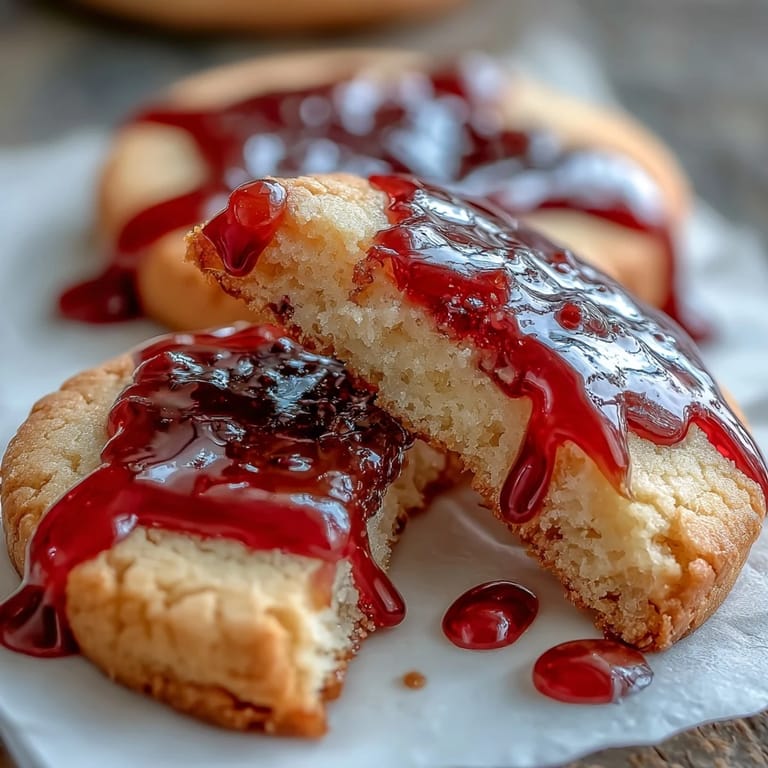
 My niece was convinced that Halloween cookies needed actual fangs, so I spent an afternoon experimenting with ways to make sugar cookies look genuinely menacing without anyone losing a tooth. The breakthrough came when I realized a simple straw could create the perfect bite marks, and a thin drizzle of red icing made them look appropriately sinister. Now these vampire bite cookies are the first thing kids ask for each October, and I've learned the art of making dessert look delightfully creepy.
I remember setting up a cookie decorating station at a neighborhood Halloween gathering last year, and watching a seven-year-old carefully pipe the red icing into the bite marks while making genuine vampire sounds was absolutely worth every minute of prep work. The cookies disappeared before the candy bowl, which told me everything I needed to know about their staying power.
Ingredients
- All-purpose flour (2 1/4 cups): This is your foundation, and sifting it with the baking powder helps distribute the leavening evenly so your cookies bake with a tender crumb.
- Unsalted butter (3/4 cup, softened): Softened butter creams better with sugar and creates that light, fluffy base that makes these cookies almost melt on your tongue.
- Granulated sugar (1 cup): This sweetness is what carries the flavor, so don't skimp on quality if you can help it.
- Egg (1 large): This binds everything together and adds richness without making the cookies cakey.
- Pure vanilla extract (1 1/2 tsp): Use real vanilla here because it's such a small amount that the quality actually matters in the final taste.
- Powdered sugar (1 cup, sifted): Sifting removes lumps before mixing, so your icing stays smooth and glossy without grainy bits.
- Red gel food coloring: Gel holds its intensity better than liquid coloring and won't make your icing watery, which is crucial for that dramatic blood effect.
- Light corn syrup (1/2 tsp): This tiny amount creates that signature shine and slightly glossy drip that makes the icing look genuinely eerie.
Tired of Takeout? 🥡
Get 10 meals you can make faster than delivery arrives. Seriously.
One email. No spam. Unsubscribe anytime.
Instructions
- Prepare and preheat:
- Set your oven to 350°F and line your baking sheets with parchment paper while it heats up. This takes the stress out of the next steps because everything's ready to go.
- Dry ingredients together:
- Whisk your flour, baking powder, and salt in a medium bowl and set it aside. This step prevents lumps and ensures your leavening is evenly distributed throughout the dough.
- Cream butter and sugar:
- Beat softened butter and granulated sugar for about 2 minutes until it looks light, fluffy, and almost pale. You're incorporating air here, which is what gives these cookies their tender texture.
- Add wet ingredients:
- Drop in your egg and vanilla, then mix until everything is combined and smooth. The mixture should look homogeneous and ready for the dry ingredients.
- Bring it together gently:
- On low speed, gradually add your flour mixture and mix just until a soft dough forms. Stop as soon as you don't see dry flour anymore, because overworking develops gluten and makes cookies tough.
- Shape and space:
- Scoop tablespoon-sized portions, roll them into balls, and place them about 2 inches apart on your prepared sheets. Press each one down gently with your palm so they're slightly flattened and will bake evenly.
- Bake until golden:
- Bake for 10 to 12 minutes, watching for the edges to just barely turn golden brown. The centers will still look slightly underbaked, which is perfect because they'll continue cooking on the hot pan.
- Cool and transfer:
- Let the cookies sit on the baking sheet for 5 minutes to set up, then transfer them to a wire rack to cool completely. This prevents them from breaking apart and ensures they won't be too soft when you poke the bite marks.
- Create the bite marks:
- Once completely cool, use a clean straw or the end of a chopstick to gently poke two holes near the edge of each cookie, angling them slightly as if a vampire really did bite there. Push in gently and twist slightly to make the marks look organic.
- Mix the icing:
- Sift your powdered sugar into a small bowl, then add milk one teaspoon at a time while mixing, along with the corn syrup and red gel coloring. You want a thick but pipeable consistency that will drip slightly but hold its shape.
- Fill the bite marks:
- Use a toothpick or small piping bag to fill each bite mark with red icing, letting it drip down the side of the cookie for that blood effect. If you want to amp up the drama, pipe a small trail of icing from the bites across the cookie.
- Optional details:
- If you want extra creepiness, use black or dark red gel icing to add fangs or shadows around the bite marks. Let everything set completely before serving or packaging.
 Pin It
 There's something magical about watching someone bite into one of these cookies and realize they look way more complicated than they actually are. That moment when the soft buttery cookie gives way and they taste the vanilla and sweetness—that's when the spooky decoration becomes almost secondary to how genuinely good these are.
Flavor Variations Worth Trying
The vanilla base is perfect, but I've experimented with adding 1/4 teaspoon of almond extract to create a slightly more sophisticated flavor that pairs well with the dramatic presentation. You could also try a hint of lemon zest or even a tiny pinch of ground cardamom if you want to surprise people with unexpected depth.
Making Them Ahead
The unbaked dough keeps in the refrigerator for up to 3 days, which means you can bake fresh cookies the morning of your event instead of doing everything at once. The baked, undecorated cookies stay fresh in an airtight container for about 4 days, so you can decorate them right before serving when the icing is brightest.
Serving and Pairing Ideas
These cookies pair beautifully with hot chocolate for a cozy Halloween night, but they're also stunning alongside mulled wine or cider at an adult gathering. The buttery sweetness cuts through richer fall flavors, and the spooky presentation makes them conversation starters no matter who's eating them.
- Set up a decorating station where guests can personalize their own cookies with different icing shades and details.
- Package them in clear bags tied with orange or black ribbon for a gift that feels way more thoughtful than store-bought treats.
- Make extra bite marks if you're feeling theatrical, or go minimal and elegant with just one mark per cookie depending on your vibe.
 Pin It
 These vampire bite cookies have become the dessert I'm known for, and honestly, that makes me happier than it probably should. There's joy in a recipe that looks impressive but feels achievable, especially one that brings a little theatrical fun to everyone's table.
Questions & Answers
- → How do I create the bite mark effect on the cookies?
Use the end of a straw or a chopstick to gently poke two small indentations near the edge of each cooled cookie before adding the red icing.
- → What gives the red icing its glossy shine?
The addition of light corn syrup in the icing mixture imparts a glossy, shiny finish to the red icing.
- → Can I prepare the dough ahead of time?
Yes, chilling the dough for 30 minutes makes it easier to handle and helps maintain cookie shape during baking.
- → What can I use to add extra detail to the icing?
Black or dark red gel icing can be piped on top for added dramatic detailing.
- → Are there substitutions for all-purpose flour?
Gluten-free flour blends can be used as a substitute, though texture may vary slightly.